月: 2019年6月

  • Let’s encrypt 証明書を使って Nginx で TLS(SSL) を有効化する

    /etc/nginx/sites-available/ の設定に次の3行を追加して reload すれば完了。

    kuratsuki.net の部分を適宜変更してください。

    server {
        # .....
        listen 443 ssl;
        ssl_certificate     /etc/letsencrypt/live/kuratsuki.net/fullchain.pem;
        ssl_certificate_key /etc/letsencrypt/live/kuratsuki.net/privkey.pem;
        # .....
    }
    
    $ sudo systemctl reload nginx
    
  • Let’s encrypt でワイルドカード証明書を新規取得する

    毎回調べてしまうので、手順をメモします。

    前提

    • certbot-auto が使える状態
      • git clone https://github.com/certbot/certbot
    • ドメインの DNS レコードが変更できる状態

    手順

    適宜、kuratsuki.net を自ドメインに置き換えてください。

    $ sudo ./certbot-auto certonly \
        --manual -d '*.kuratsuki.net' \
        -m '[email protected]' --agree-tos \
        --preferred-challenges dns-01 \
        --server https://acme-v02.api.letsencrypt.org/directory
    
    ./certbot-auto has insecure permissions!
    To learn how to fix them, visit https://community.letsencrypt.org/t/certbot-auto-deployment-best-practices/91979/
    Saving debug log to /var/log/letsencrypt/letsencrypt.log
    Plugins selected: Authenticator manual, Installer None
    
    - - - - - - - - - - - - - - - - - - - - - - - - - - - - - - - - - - - - - - - -
    Would you be willing to share your email address with the Electronic Frontier
    Foundation, a founding partner of the Let's Encrypt project and the non-profit
    organization that develops Certbot? We'd like to send you email about our work
    encrypting the web, EFF news, campaigns, and ways to support digital freedom.
    - - - - - - - - - - - - - - - - - - - - - - - - - - - - - - - - - - - - - - - -
    (Y)es/(N)o: Y
    Obtaining a new certificate
    Performing the following challenges:
    dns-01 challenge for kuratsuki.net
    
    - - - - - - - - - - - - - - - - - - - - - - - - - - - - - - - - - - - - - - - -
    NOTE: The IP of this machine will be publicly logged as having requested this
    certificate. If you're running certbot in manual mode on a machine that is not
    your server, please ensure you're okay with that.
    
    Are you OK with your IP being logged?
    - - - - - - - - - - - - - - - - - - - - - - - - - - - - - - - - - - - - - - - -
    (Y)es/(N)o: Y
    
    - - - - - - - - - - - - - - - - - - - - - - - - - - - - - - - - - - - - - - - -
    Please deploy a DNS TXT record under the name
    _acme-challenge.kuratsuki.net with the following value:
    
    Ib4LVMChbn2wyQZgvfbFXOkIO5HuDi7OJ9Xxjhp9-C2
    
    Before continuing, verify the record is deployed.
    - - - - - - - - - - - - - - - - - - - - - - - - - - - - - - - - - - - - - - - -
    Press Enter to Continue
    

    ここで一旦 DNS の設定に移ります。

    自分の場合はお名前.comなので次のように辿って設定します。

    1. 「ドメイン設定」
    2. 「ネームサーバーの設定」
    3. 「DNS 関連機能の設定」
    4. ドメインを選択して「次へ」
    5. 「DNSレコード設定を利用する」
    6. 「TYPE」を「TXT」として「ホスト名」を「_acme-challenge」にします
    7. 「VALUE」に先程 certbot-auto が出したハッシュを入力して「確認画面へ進む」
    8. 「設定する」

    DNS レコードの設定が終ったら certbot-auto に戻って Enter キーを押します。

    ここで DNS レコードの更新が反映されていないと次のような表示が出ます。

    Waiting for verification...
    Challenge failed for domain kuratsuki.net
    dns-01 challenge for kuratsuki.net
    Cleaning up challenges
    Some challenges have failed.
    
    IMPORTANT NOTES:
     - The following errors were reported by the server:
    
       Domain: kuratsuki.net
       Type:   unauthorized
       Detail: Incorrect TXT record
       "KQ08Sk3s2KCzWwsGrzJMU4GJksYY-8aGoSPuY3k1f8J" found at
       _acme-challenge.kuratsuki.net
    
       To fix these errors, please make sure that your domain name was
       entered correctly and the DNS A/AAAA record(s) for that domain
       contain(s) the right IP address.
    

    ローカルで反映されたのを確認してからやってもこの表示が出たので、別窓でもう一つ terminal を開いておいて次を試してみます。

    $ nslookup -q=txt _acme-challenge.kuratsuki.net
    Server:         127.0.0.53
    Address:        127.0.0.53#53
    
    Non-authoritative answer:
    _acme-challenge.kuratsuki.net   text = "KQ08Sk3s2KCzWwsGrzJMU4GJksYY-8aGoSPuY3k1f8J"
    
    Authoritative answers can be found from:
    

    この結果に反映されるまでは certbot-auto を続けても失敗するだけです。

    問題なければ次のような表示になります。

    Waiting for verification...
    Cleaning up challenges
    
    IMPORTANT NOTES:
     - Congratulations! Your certificate and chain have been saved at:
       /etc/letsencrypt/live/kuratsuki.net/fullchain.pem
       Your key file has been saved at:
       /etc/letsencrypt/live/kuratsuki.net/privkey.pem
       Your cert will expire on 2019-09-21. To obtain a new or tweaked
       version of this certificate in the future, simply run certbot-auto
       again. To non-interactively renew *all* of your certificates, run
       "certbot-auto renew"
     - If you like Certbot, please consider supporting our work by:
    
       Donating to ISRG / Let's Encrypt:   https://letsencrypt.org/donate
       Donating to EFF:                    https://eff.org/donate-le
    

    これで証明書諸々が /etc/letsencrypt/live/ に格納されました。

  • docker-compose で Wekan を構築

    docker-compose で Wekan を構築

    docker-compose.yaml

    wekan:
      image: wekanteam/wekan
      links:
        - wekandb
      environment:
        - MONGO_URL=mongodb://wekandb/wekan
        - ROOT_URL=http://kuratsuki.net/    # URLは各自変更してください
      ports:
        - 3001:8080 # 公開ポート3001を各自変更してください
      restart: always
    
    wekandb:
      image: mongo
      volumes:
        - ./mongodb/data:/data
      restart: always
    

    参考

  • docker-compose でお手軽に Redmine を構築する

    docker-compose でお手軽に Redmine を構築する

    自プロジェクトで Redmine を使う必要があって、その時の作業を記録として残します。

    前提

    • Docker が使える環境
      • docker-compose が使えること
    • Redmine のデータはコンテナを再構築しても永続化するようにしたい
      • 1サーバに複数の Redmine を構築する予定があるので、それも考慮する

    docker-compose.yaml

    version: '2'
    services:
      redmine:
        image: redmine
        ports:
          - 3000:3000
        environment:
          REDMINE_DB_MYSQL: db
          REDMINE_DB_PASSWORD: redmine
        depends_on:
          - db
        restart: always
    
      db:
        image: mariadb
        environment:
          MYSQL_ROOT_PASSWORD: redmine
          MYSQL_DATABASE: redmine
        command: mysqld --character-set-server=utf8 --collation-server=utf8_unicode_ci
        volumes:
          - "./mysql/data:/var/lib/mysql"
        restart: always
    

    いきなりですが今回使った docker-compose.yaml の中身です。

    少しだけ補足すると、MariaDB のデータを docker-compose.yaml があるディレクトリ下に保存するように volume を割り当てているので、docker-compose down して再度 up してもデータが残ります。

    ポートの変更

    上記の yaml では 3000 で待ち受けていますが、8080:300080:3000 のように自分の使うポートに変更してください。
    :3000 はコンテナ内部のポートなので変更してはいけません。

    起動

    初回は次のようにしてコンテナを生成しつつ起動します。

    $ sudo docker-compose up -d
    

    stop で止めたりした時は start で再開できます。

    $ sudo docker-compose start
    

    停止

    一時的にコンテナを止めます。

    $ sudo docker-compose stop
    

    削除

    stop & rm です。

    $ sudo docker-compose down
    

    コンテナを削除しても ./mysql/* 下にデータが残っているので適宜削除してください。

    参考

  • Gemini PDA を Android 8.1 から 7.1.1 に戻す

    Gemini PDA を Android 8.1 から 7.1.1 に戻す

    OTA リリース直後から docomo LTE(4G) を掴まないやらそもそも更新ができないやらとひと悶着あった Gemini PDA の Android 8.1(OTA6) ですが、その後は特に大きなトラブルもなく普通に使っていました。

    ですが Android 7.1.1 の時と比較するするとアプリの切り替えがもたついて、とても遅く感じます。
    Android 8.1 になって特に優れた箇所も見当らないので、快適さを採って Android 7.1.1 に戻すことにしました。

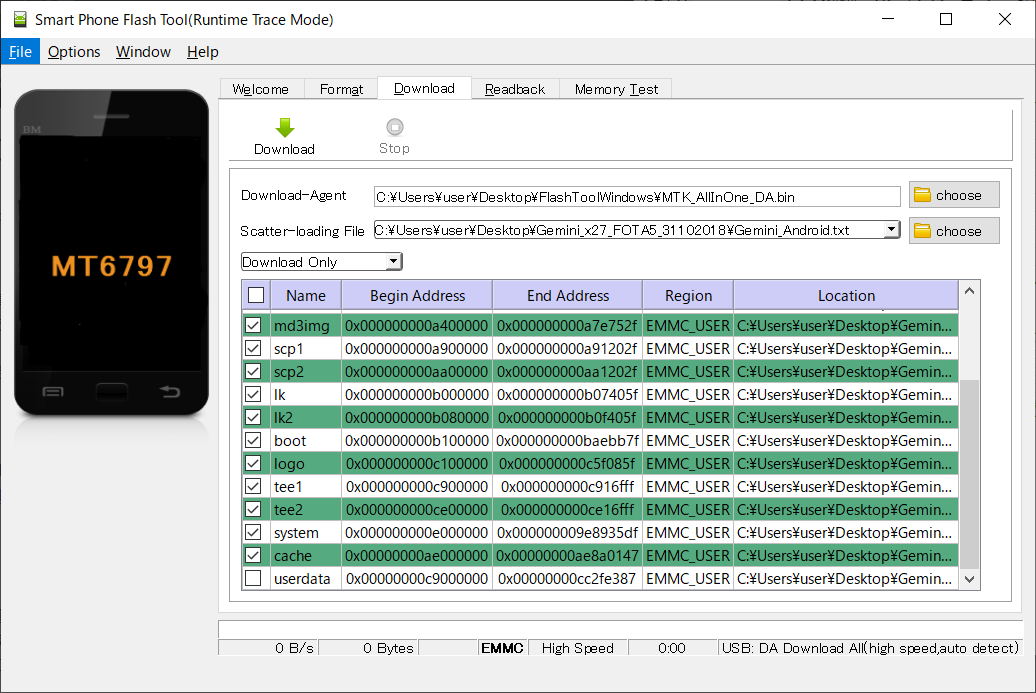
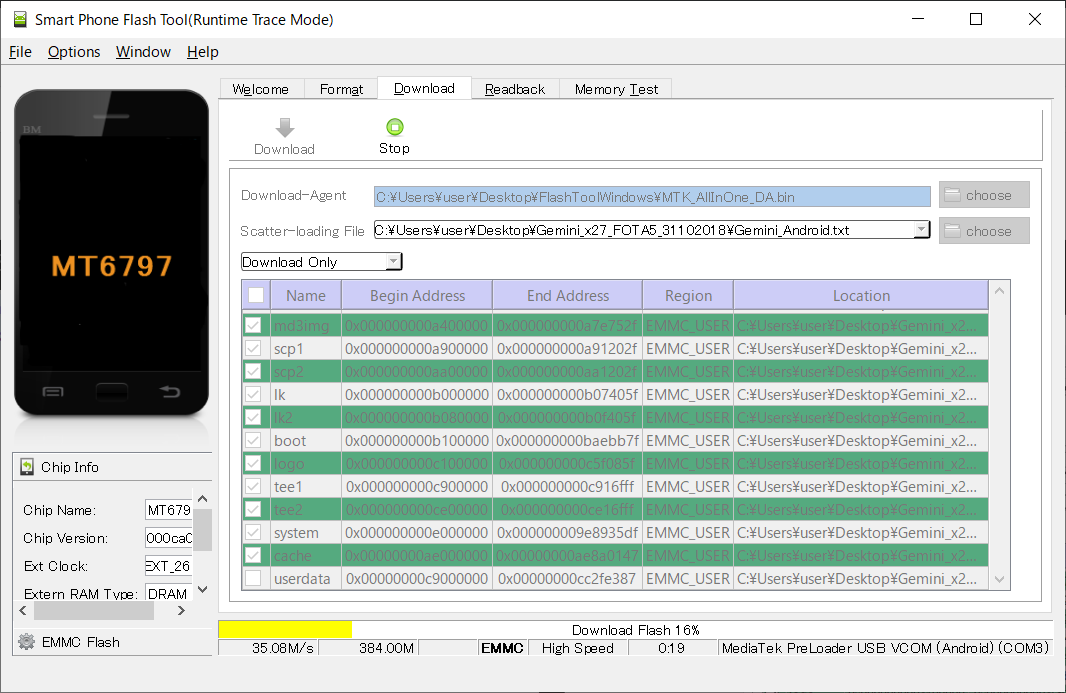
    多分駄目だろうと思いながら、ダメ元で userdata を残して Android 7(OTA5) のファームウェアを焼いてみます。
    公式の Android Flashing Guide を参考にしています。

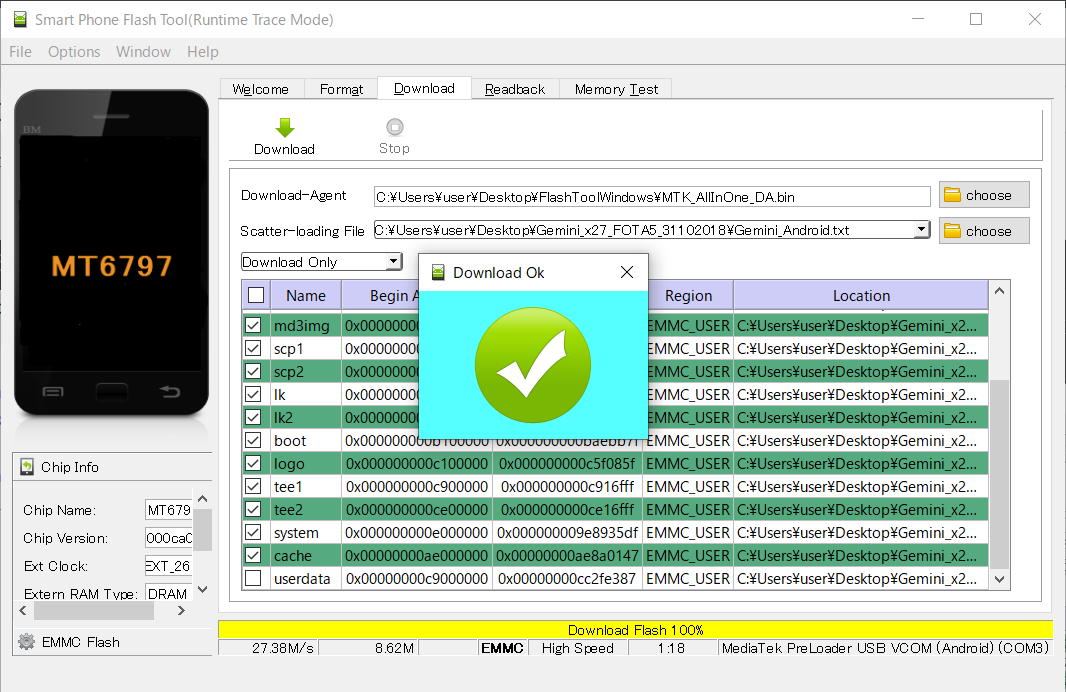
    書き込み自体は正常にできますが……

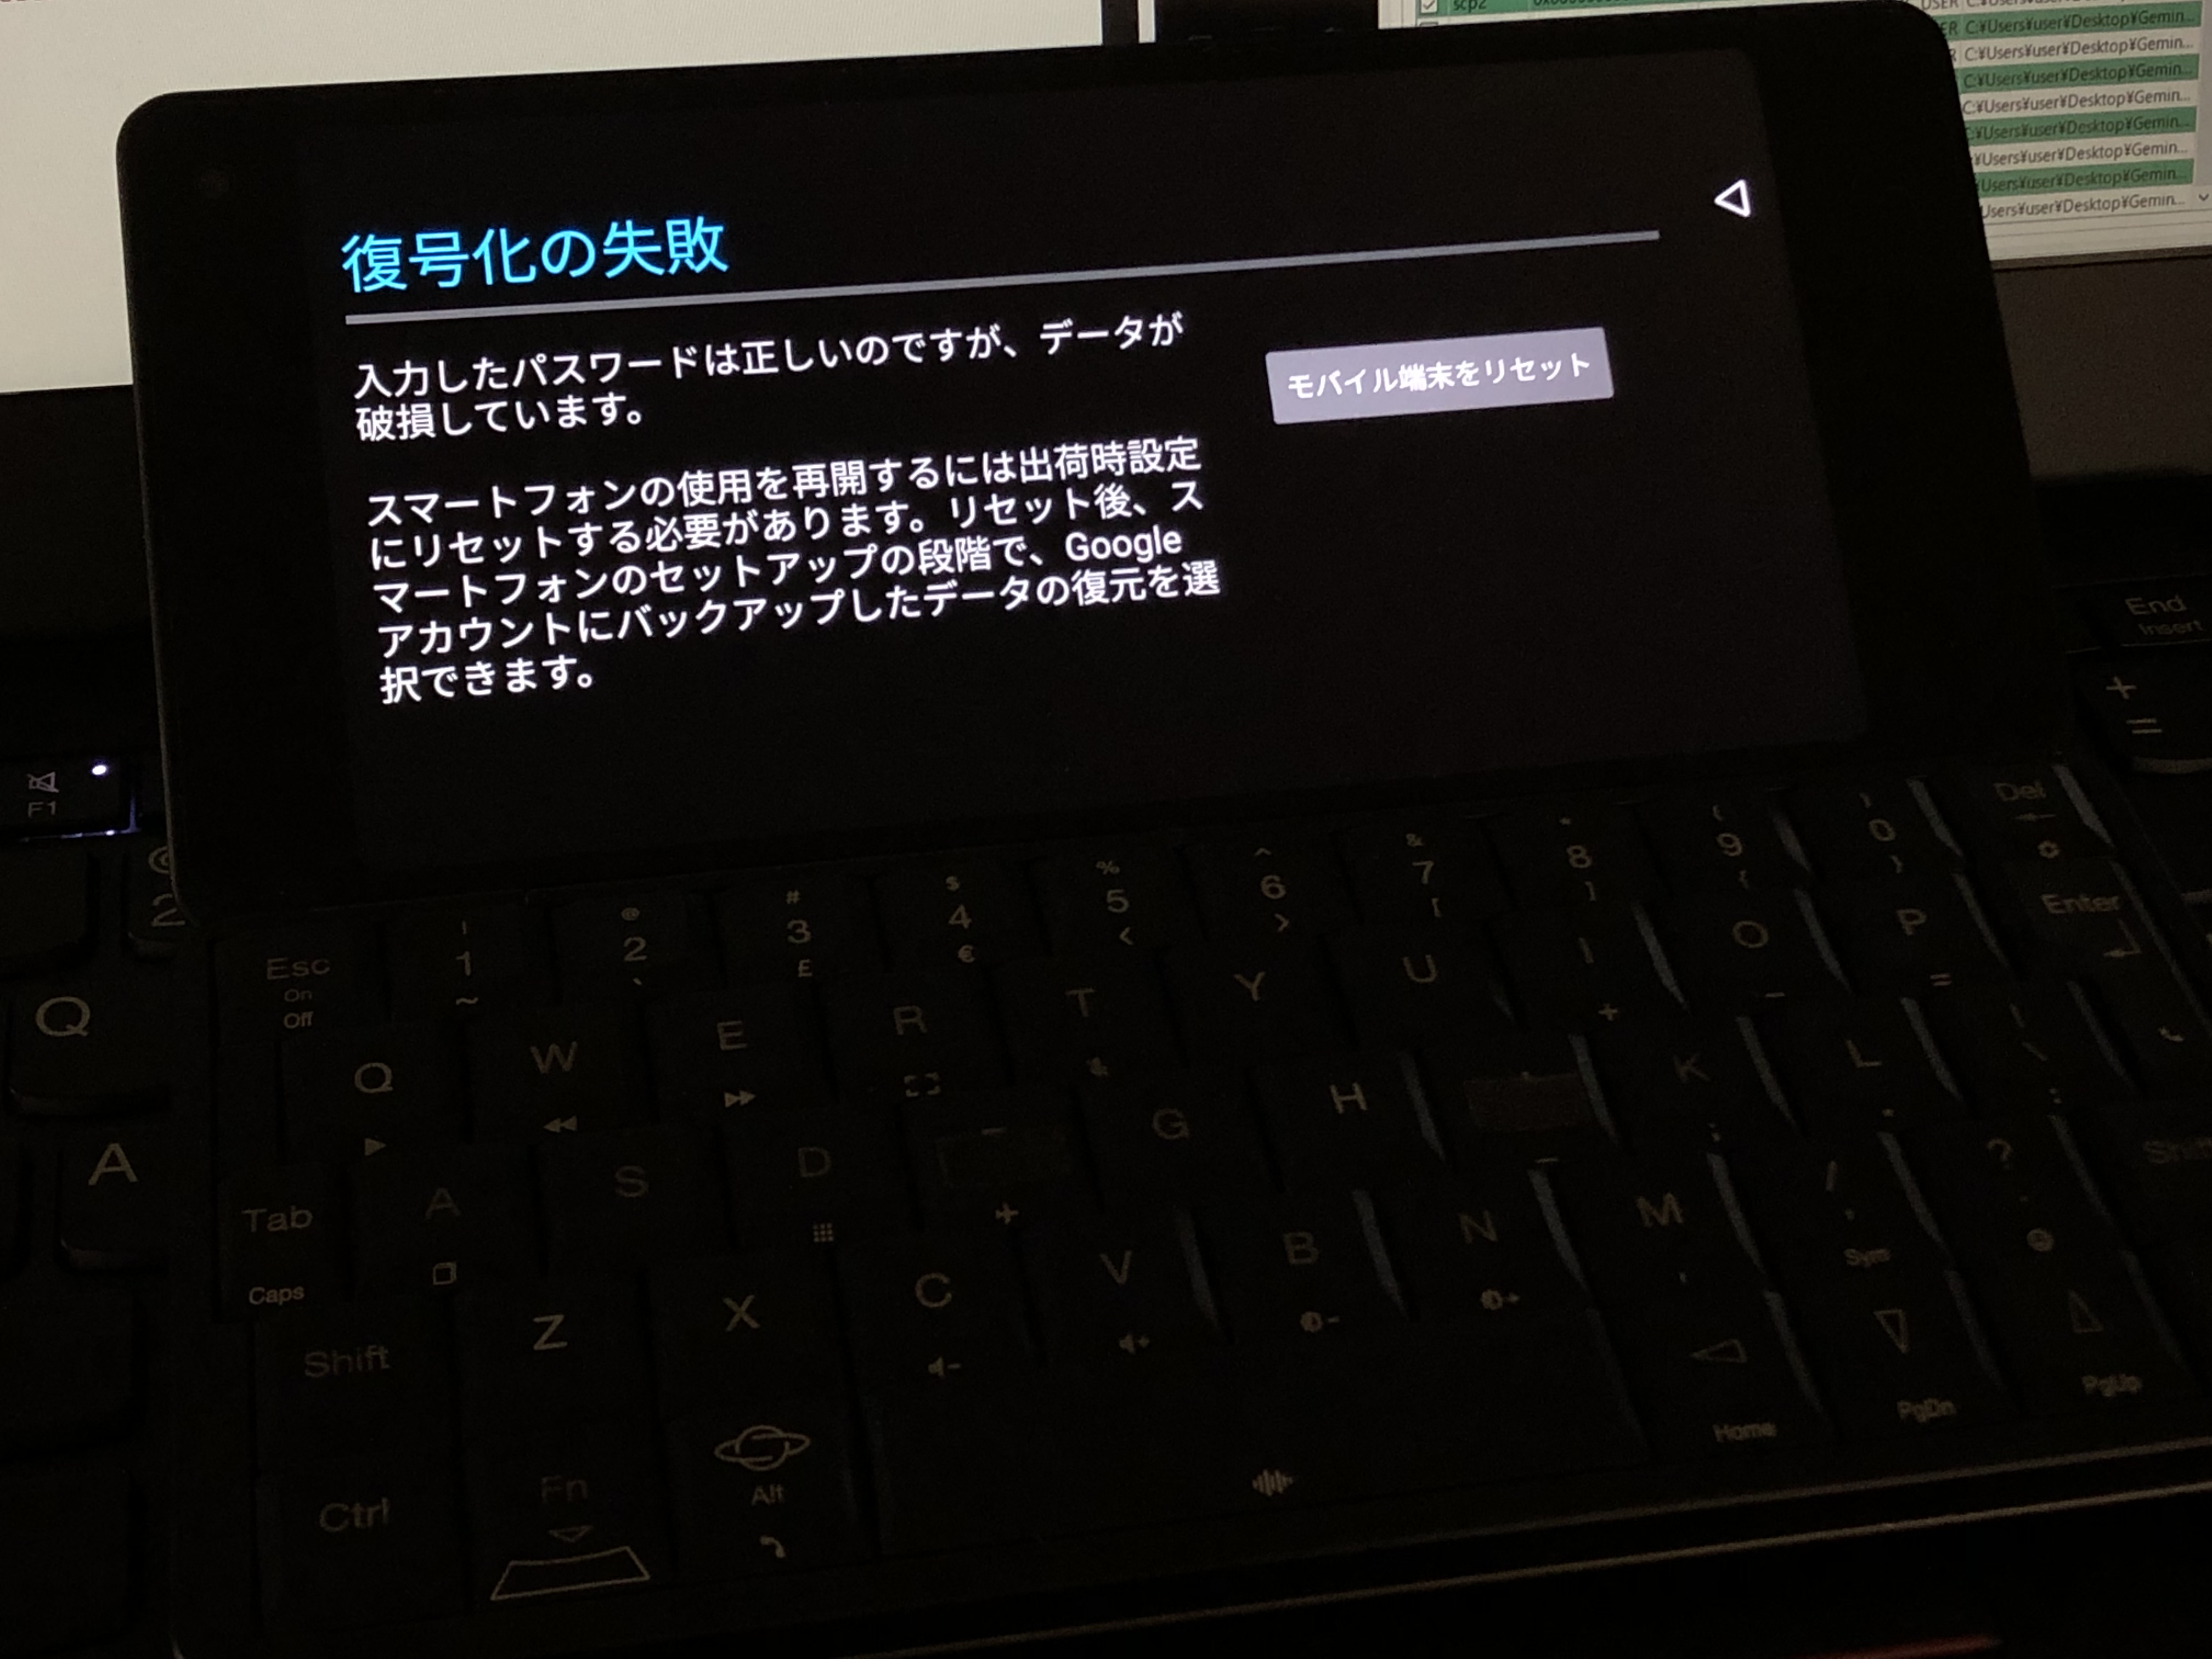
    案の定、怒られました。
    渋々 Fatctory Reset します。

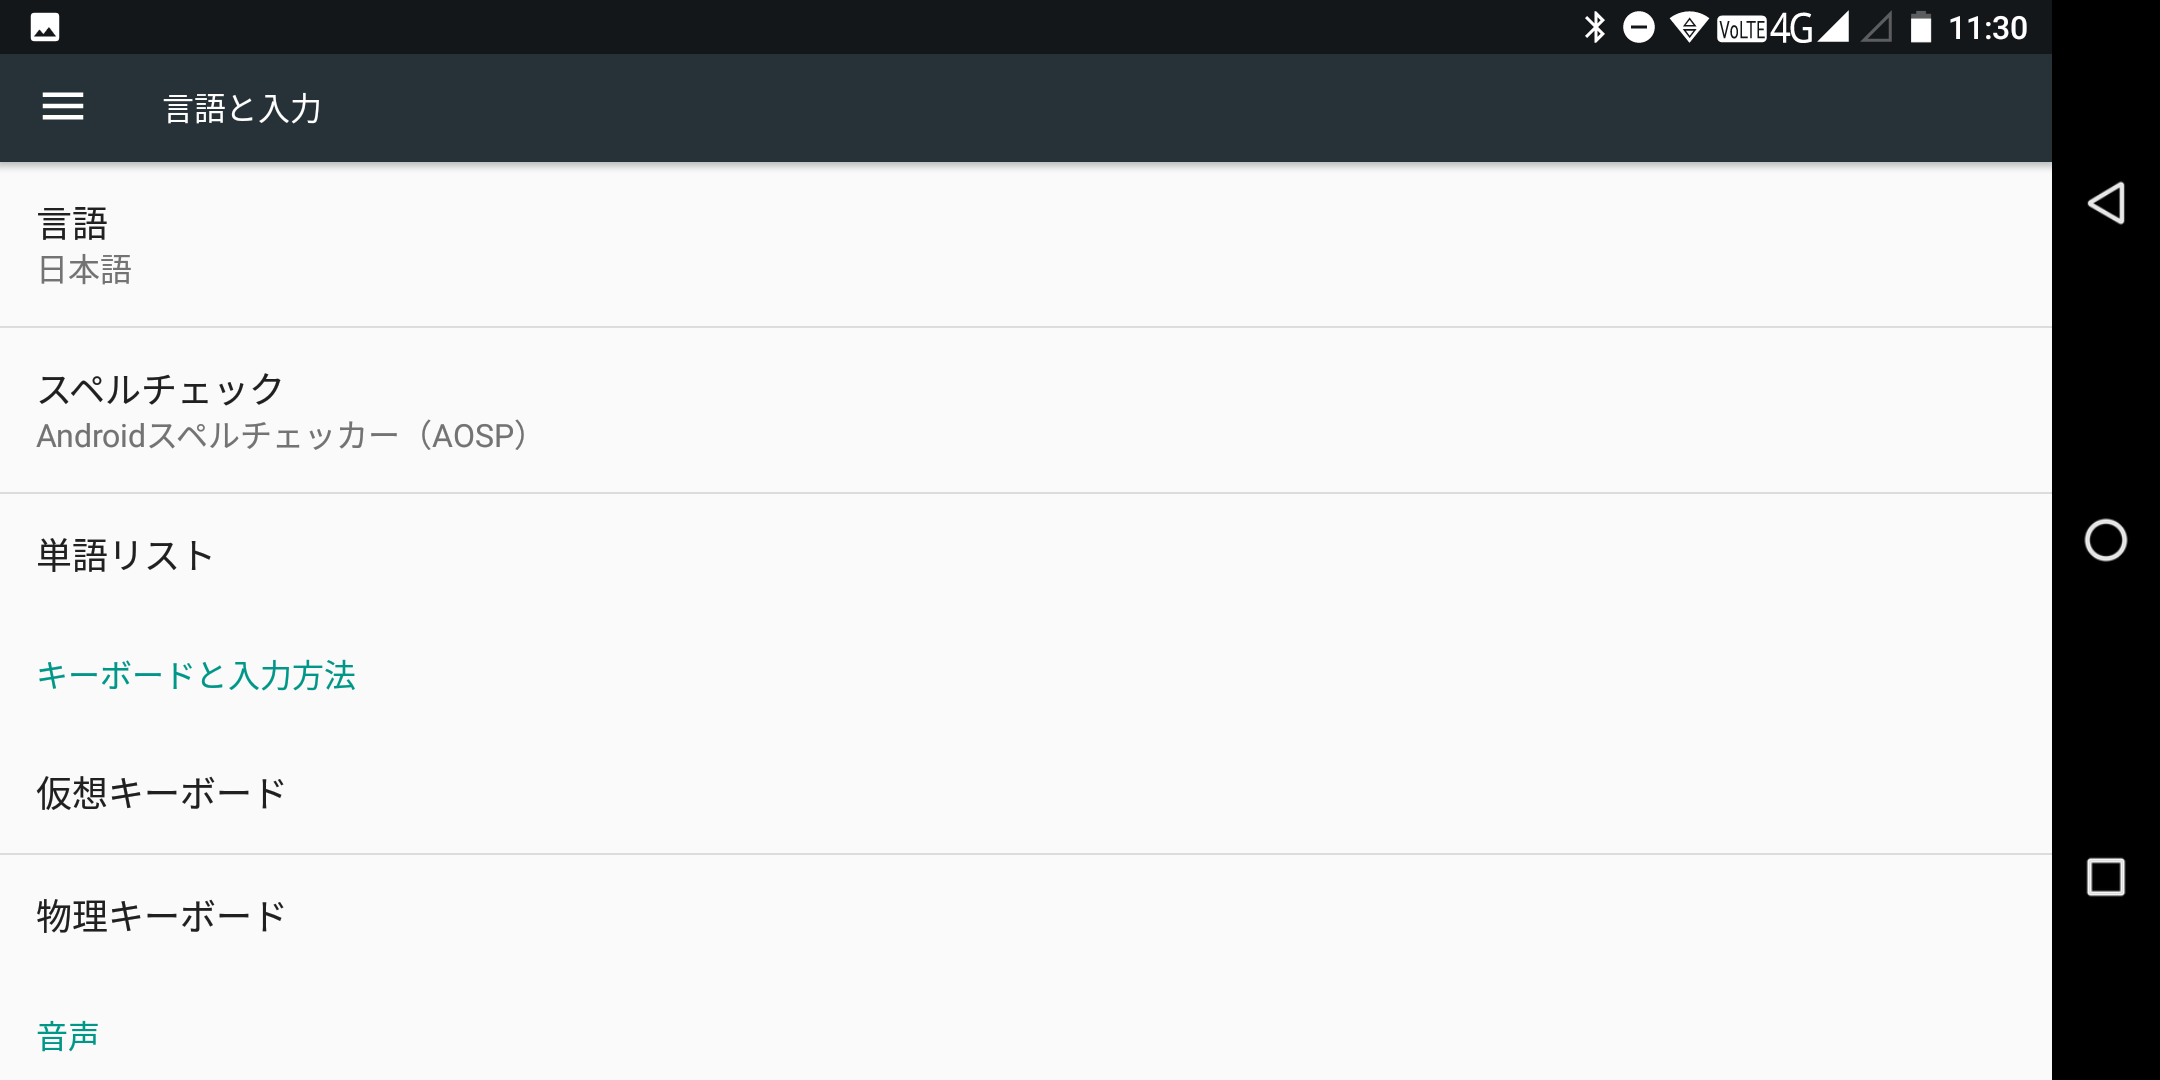
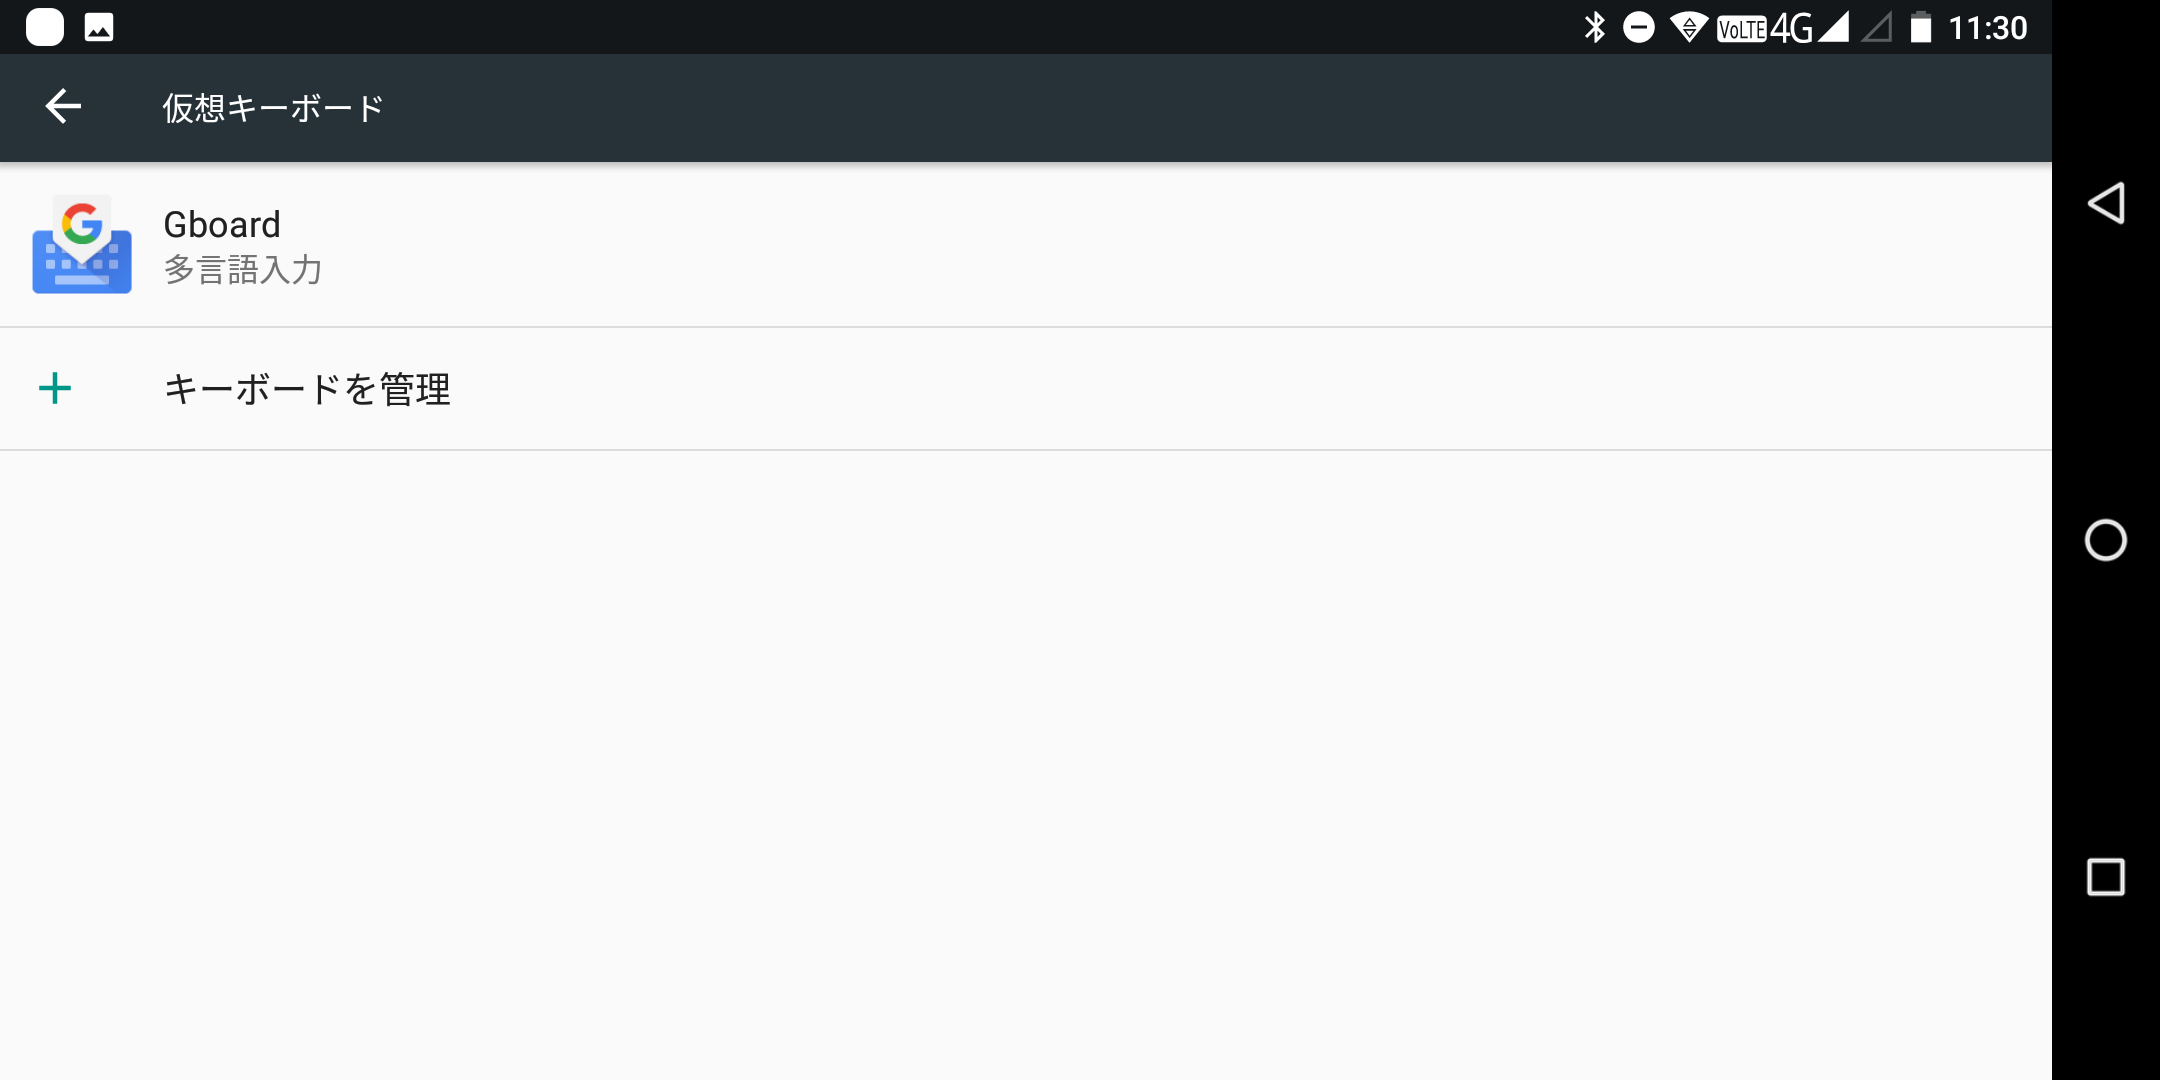
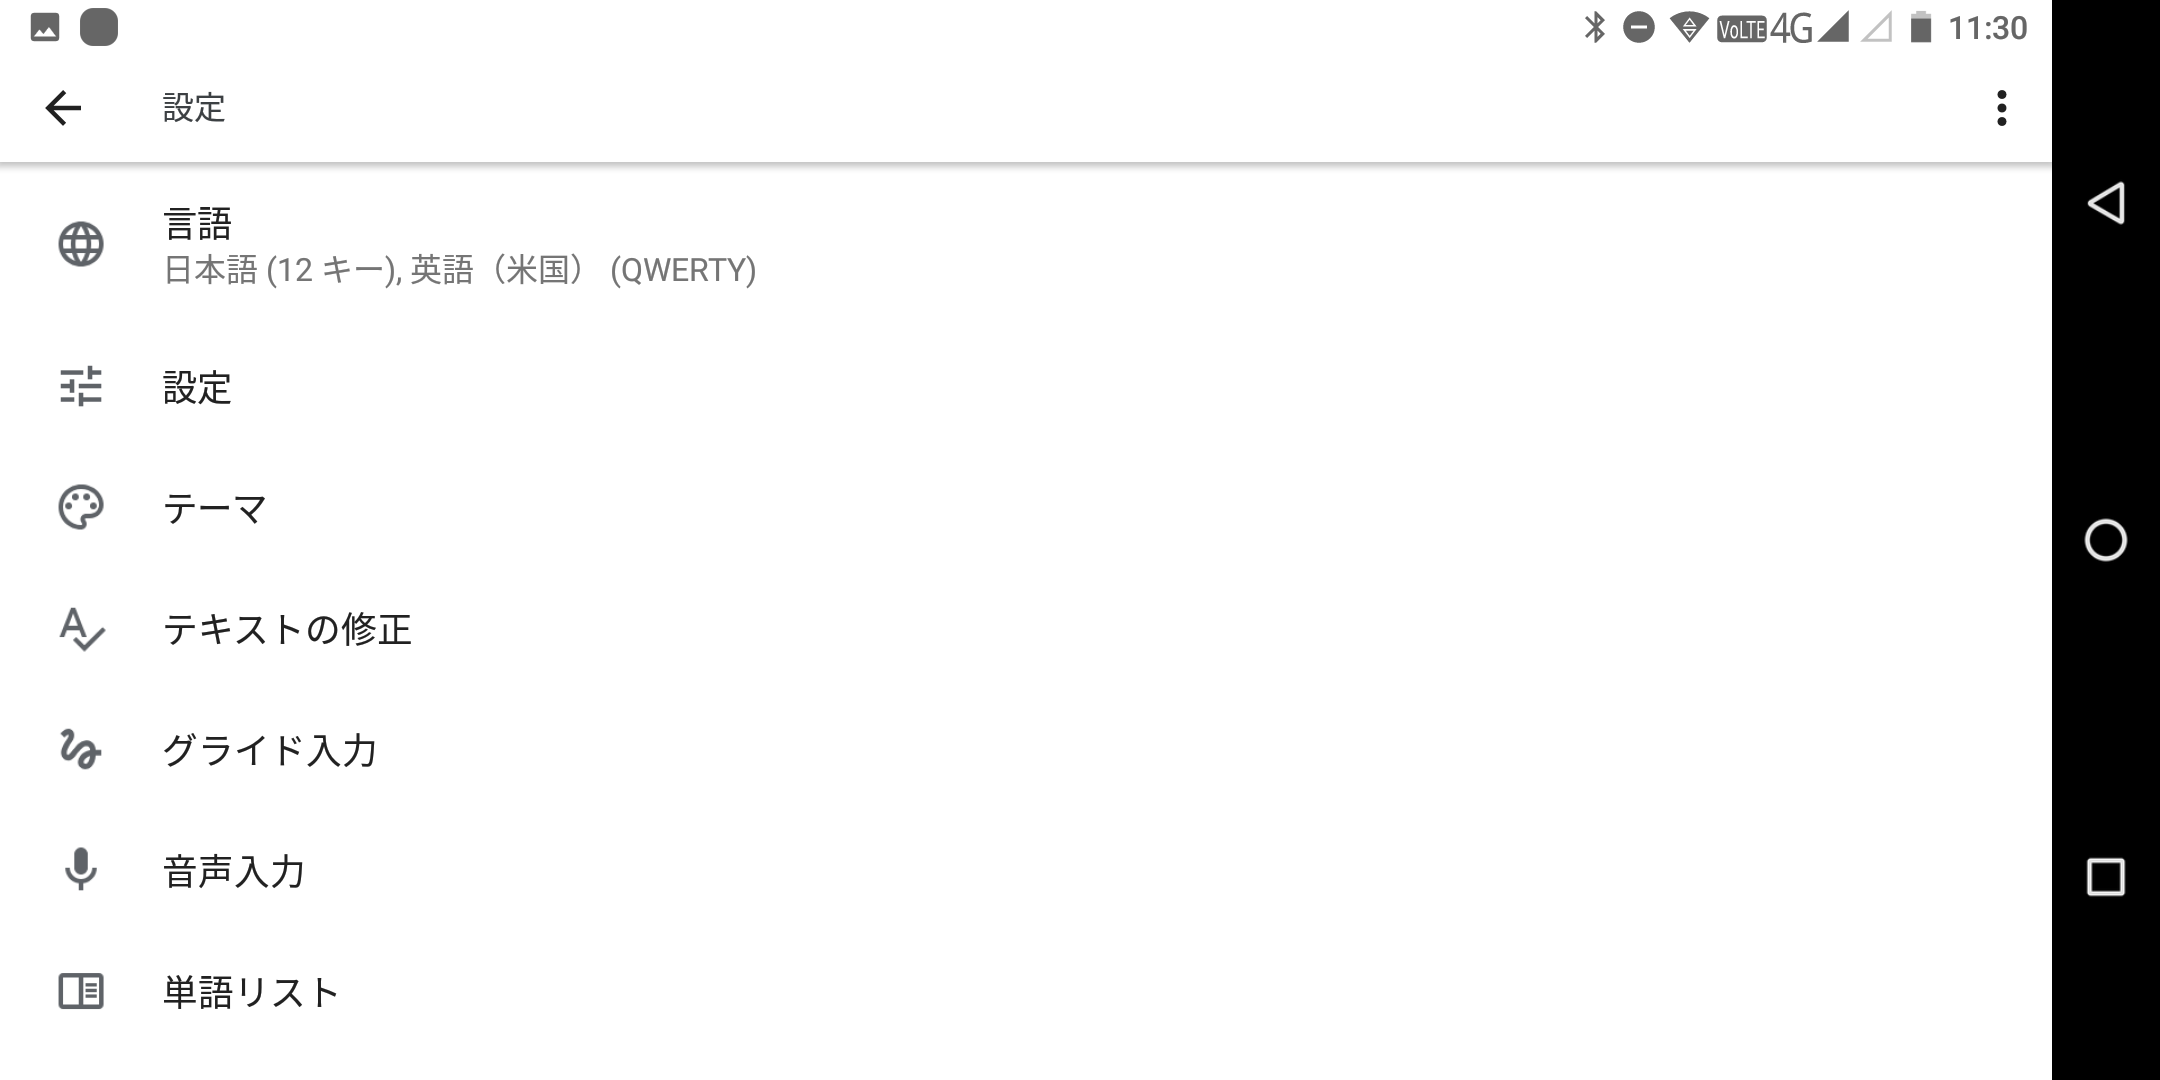
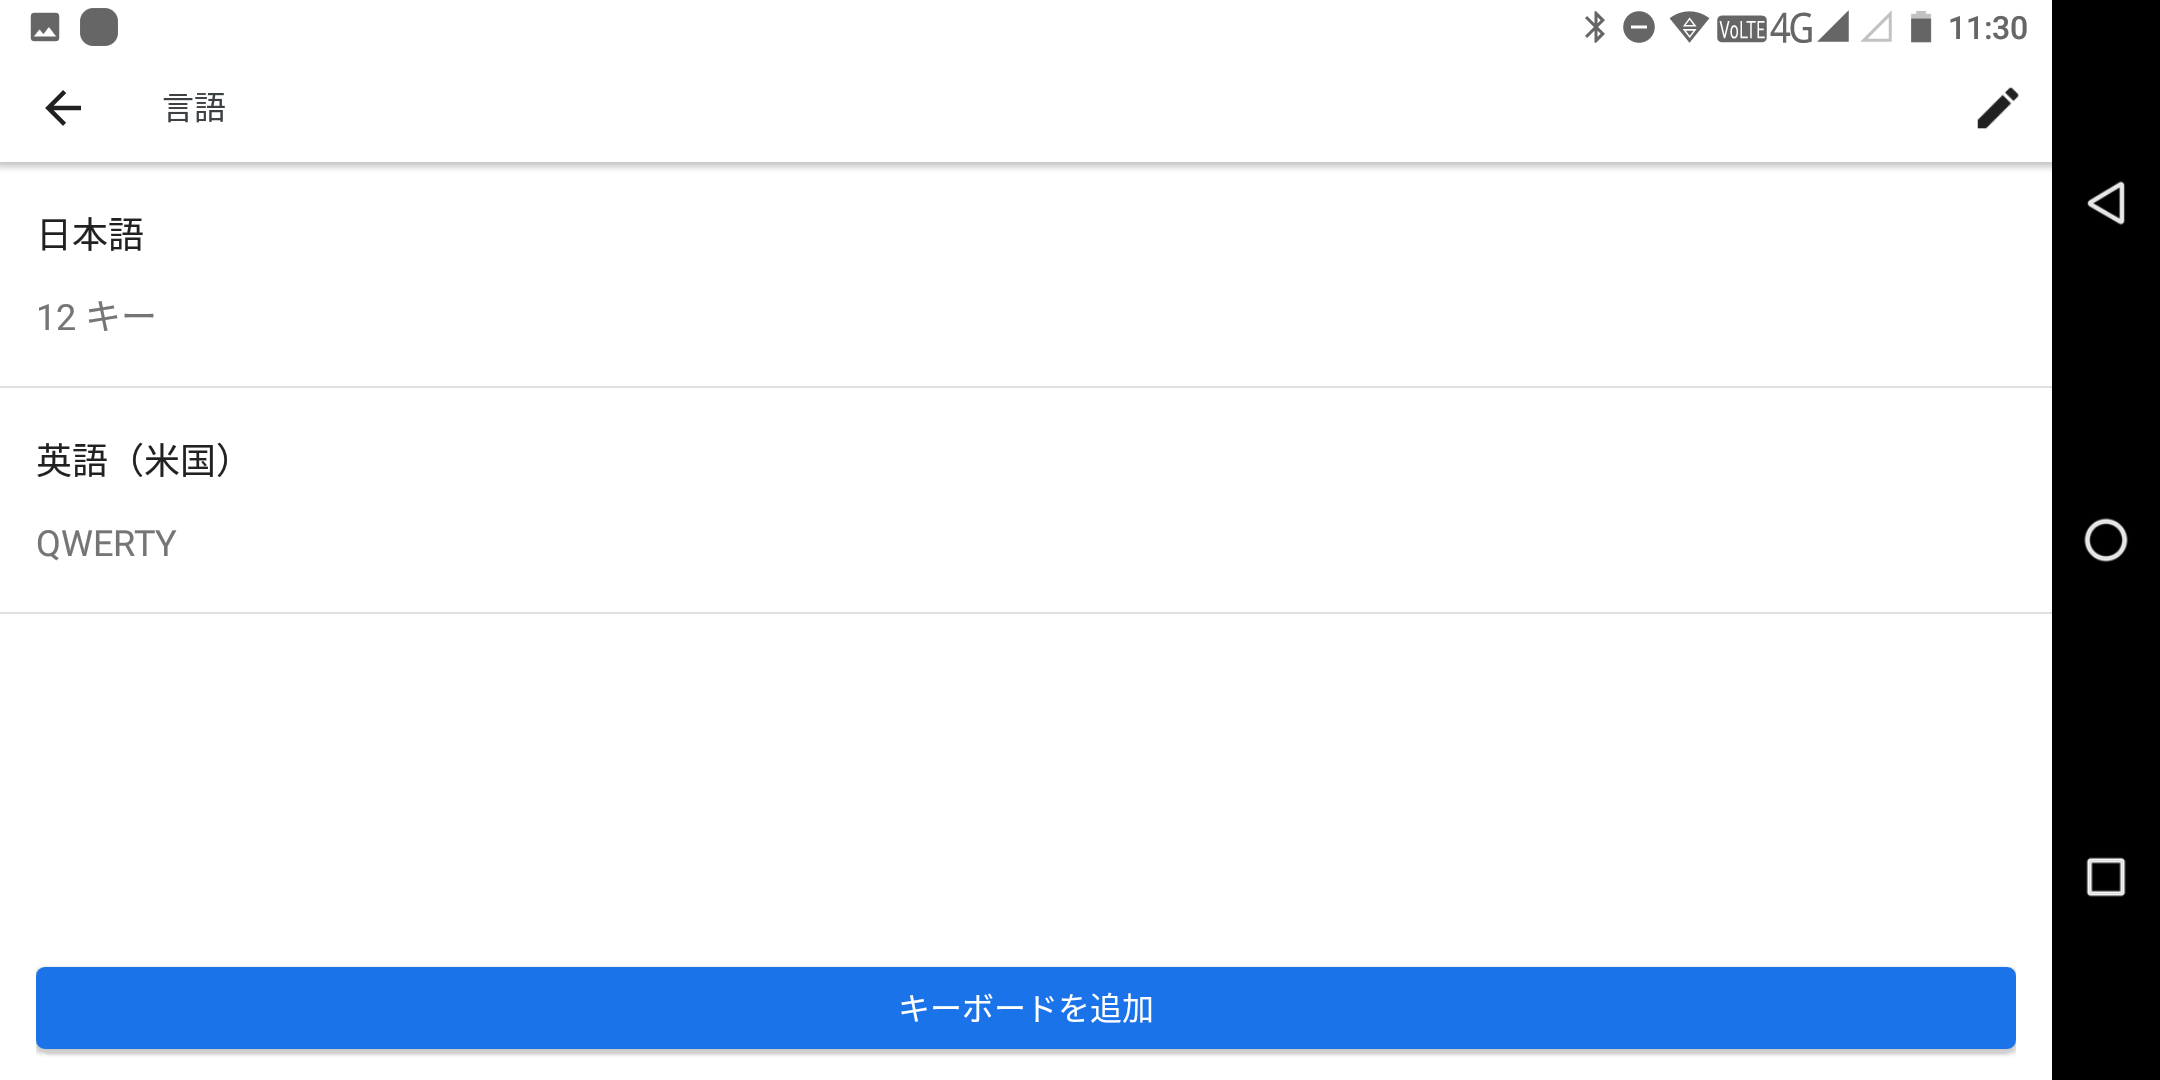
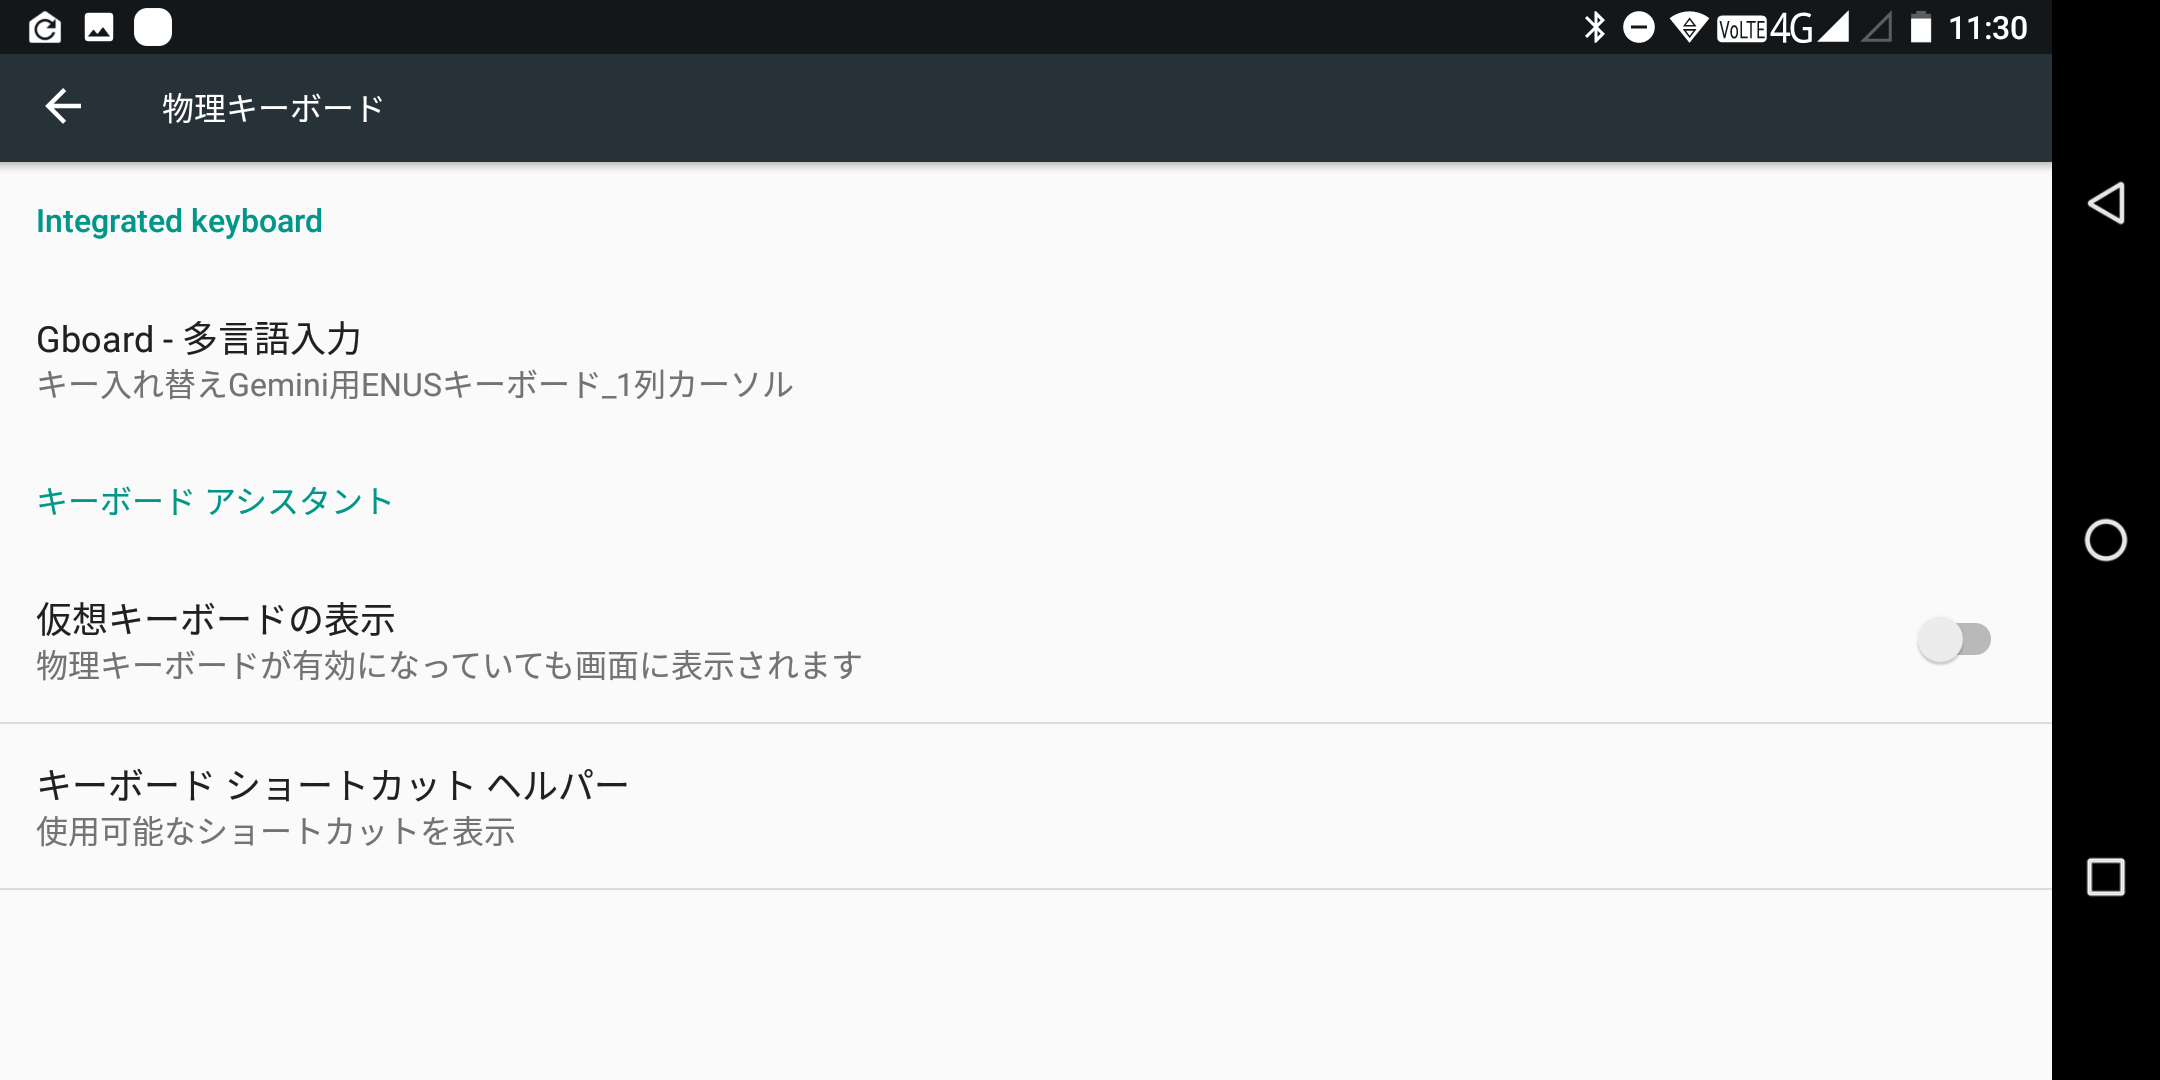
    毎回キーボード回りの設定がわからなくなるので自分用のメモを貼っておきます。

  • docker-compose で建てた CodiMD(HackMD) を 1.2.0 から 1.3.1 に更新する

    docker-compose で建てた CodiMD(HackMD) を 1.2.0 から 1.3.1 に更新する

    DB のバックアップをしてコンテナを削除する

    最初に構築したディレクトリ(docker-compose.yml があるところ)に移動して PostgreSQL のバックアップを取得しておきます。

    データはホストに残っていますが、念のため実行しておきます。

    $ cd docker-hackmd
    $ sudo docker-compose exec database pg_dump hackmd -U hackmd  > backup.sql
    $ sudo docker-compose down
    Stopping docker-hackmd_app_1      ... done
    Stopping docker-hackmd_database_1 ... done
    Removing docker-hackmd_app_1      ... done
    Removing docker-hackmd_database_1 ... done
    Removing network docker-hackmd_backend

    docker-compose.yml を編集する

    services – app – image と辿って "hackmdio/hackmd:1.2.0" となっている部分を "hackmdio/hackmd:1.3.1" に変更します。

    ### 略 ###
    services:
      ### 略 ###
      app:
        ### 略 ###
        image: hackmdio/hackmd:1.3.1
    ### 略 ###

    新バージョンの image を取得する

    この手順は飛ばしても次の手順で自動で拾ってきます。

    $ sudo docker-compose pull
    Pulling database ... done
    Pulling app      ... done

    新バージョンでコンテナを作成して立ち上げる

    $ sudo docker-compose up -d
    Creating network "docker-hackmd_backend" with the default driver
    Creating docker-hackmd_database_1 ... done
    Creating docker-hackmd_app_1      ... done

    以上で完了です。
    データもそのまま残っているはずですが、バックアップからリストアするなら次を実行します。

    $ cat backup.sql | sudo docker exec -i $(docker-compose ps -q database) psql -U hackmd